An Alternative DIY Christmas Wreath Tutorial
The thing I love the most about Christmas is the abundance of wreaths and the acceptance by nearly all sane people to have them in the house and on the front door. There are a couple of styles of wreaths that I enjoy making the most, the wild and wayward variety that I teach at my workshops as well as the more contemporary festive wreaths like the one I’ll be teaching you here, which are made using a metal hoop as the base.

Gathering my foliage - its always best to have more than you think you will need
I find the making of these relatively easy but there are a few things that you need to pay attention to:
1. Avoid foliage/flowers that are too heavy, this tends to make the wreath lopsided
2. Try to keep the bulk of the foliage at the bottom for the above reason
3. Less is more with these designs (in my opinion).
So, let’s get started, shall we? Here’s what you’ll need:
1. 1 x metal ring. I have used a 25cm brass ring sourced from Grey September
2. Delicate foliage that will dry well
3. Gypsophila or other small delicate flowers that will dry
4. Catkins or other seed heads for texture and different form
5. Berries for a pop of colour and festive cheer
6. Florist tape ideally in a neutral tone

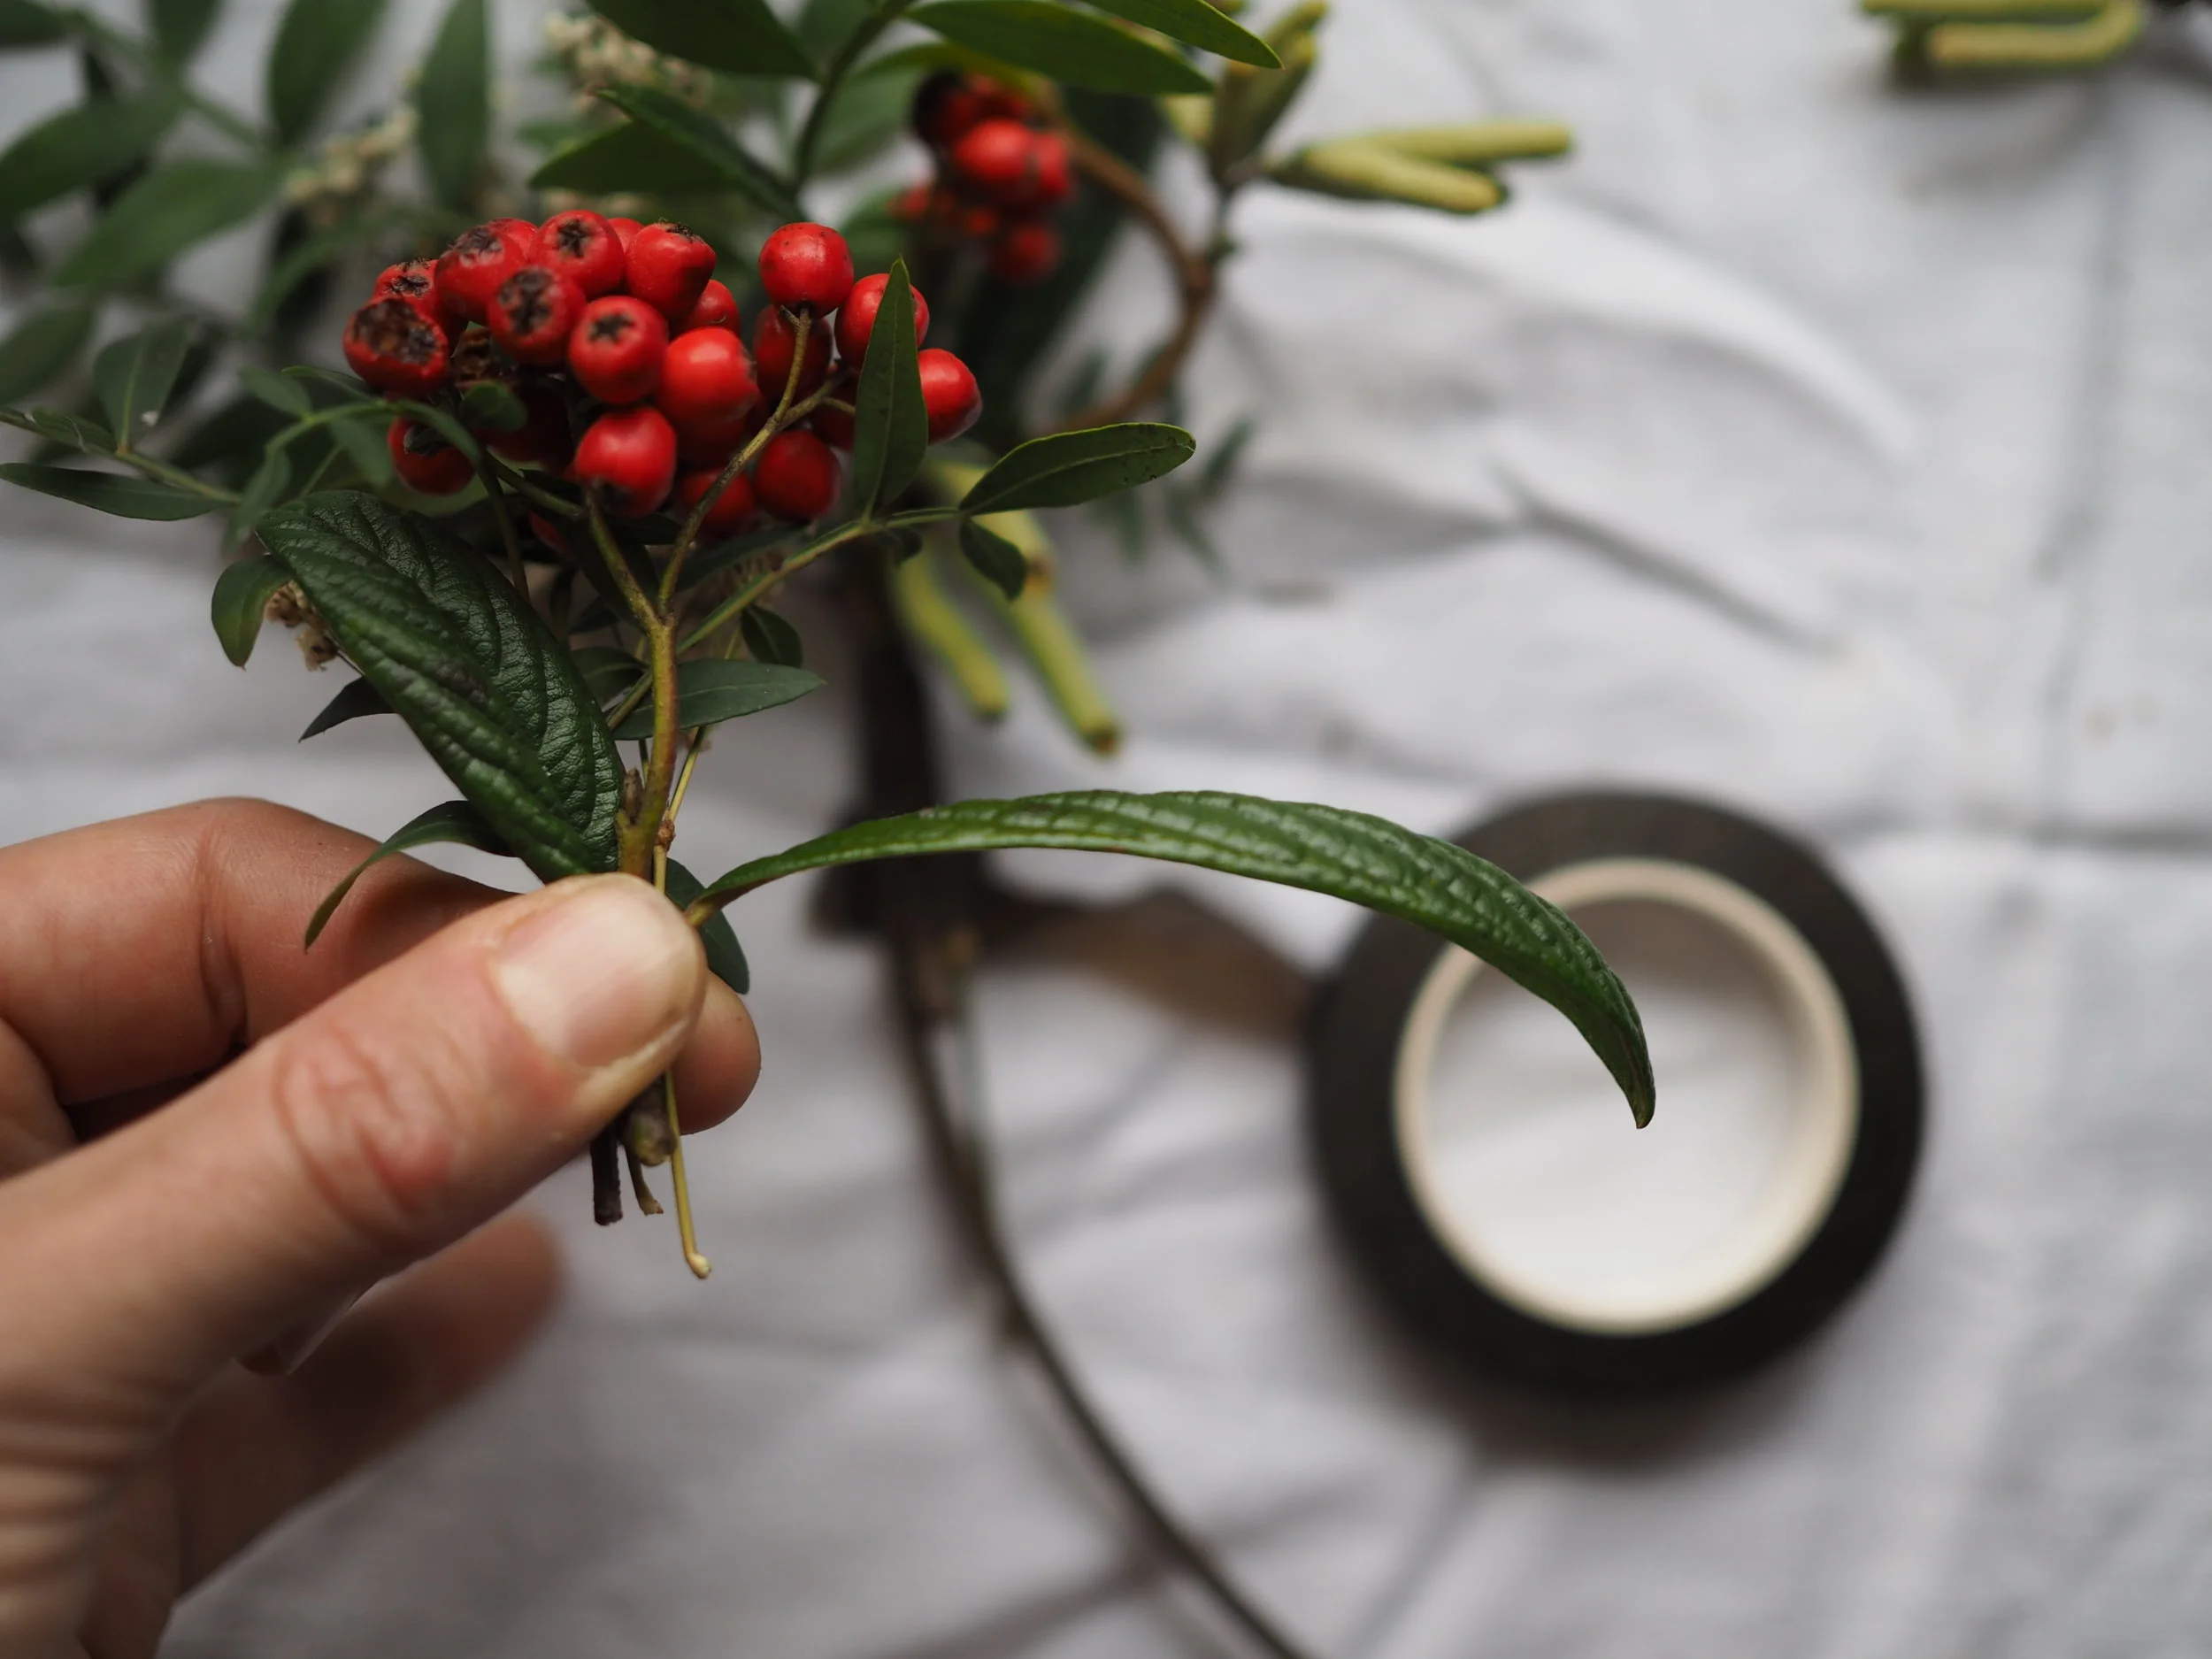
Choose berries, foliage and flowers that will dry well
1. Begin by gathering all your foliage and flowers, seed heads etc and cut in to small pieces. This makes it easier to grab them whilst your hands are busy making the wreath.
2. Select a small sprig of foliage and lay on the top a few of your other elements such as flowers and seed head to form a small posy. In the image here I have used gypsophila, catkins and red berries. Try to go with the flow of the flowers and foliage, working with nature rather than against.

Form a small posy with the first few elements of the wreath
3. Taking a length of your florist tape, start by wrapping it around the base of your mini posy in order to the selection together in their position, a couple of wraps should suffice.

Make sure the posy is held tightly together but so tight that it bunches too much and loses form
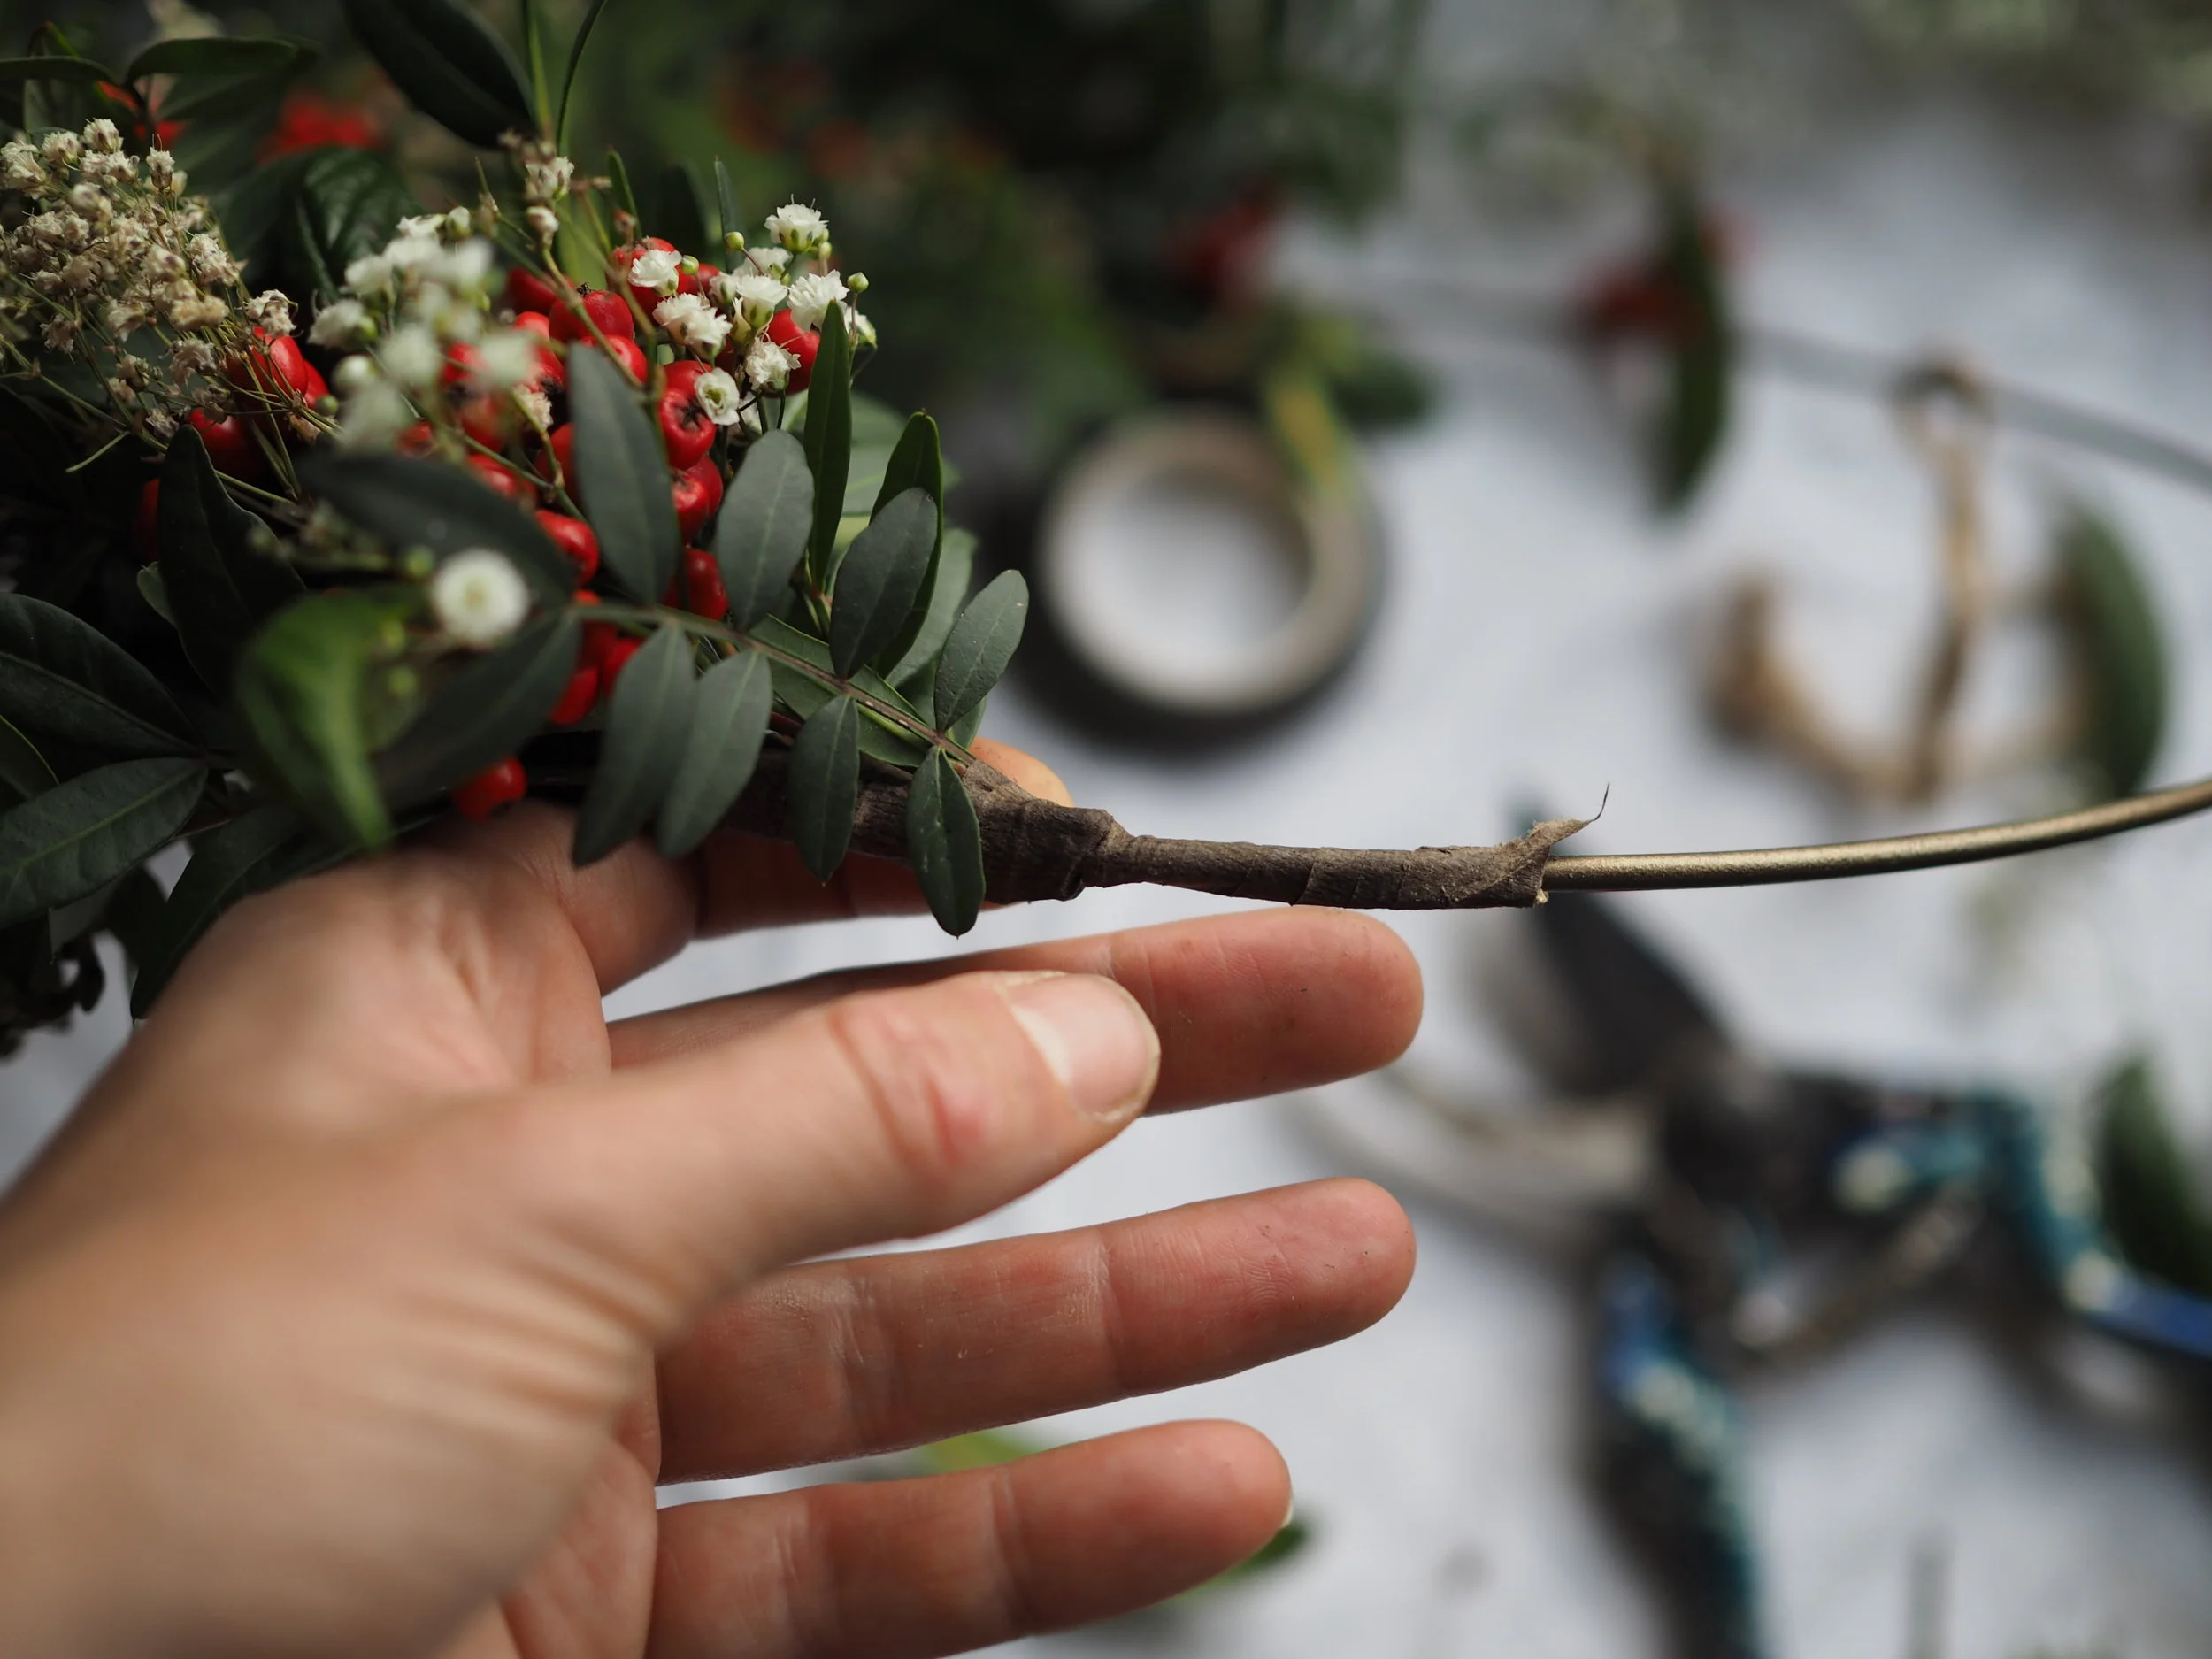
4. Using the florist tape (which still has length to it) attach the posy to the wire base about mid way down from either the left or the hand side by wrapping and pulling the florist tape around the wire base and the posy’s base. It should feel secure once wound round.
Prepare your next selection of foliage to lay on top of the first
5. Next select another sprig of foliage and a selection of your other elements and layer them on top of the first posy.
6. Again, using your florist wire, wrap the tape tightly around the base of the posy and the wire ring

Ensure the ends are wrapped tightly to the wire base but not so tight they bunch up
7. Continue to layer in this way, paying close attention to the way the posies sit on top of each other to ensure that you are giving all the elements enough room to breathe and aren’t become too bulky

Decide when you are happy with size and positioning
8. Depending on how you are wanting your design to end up you can add in extra elements as you work your way around the metal ring base. Feathers, seed heads, berries and even ribbons can make gorgeous additions.
9 .Once you are happy with the positioning of your flowers and foliage and you feel like it is at a point where you wish to stop you will need to take a length of florist tape and secure the stems of the last posy to the wire ring. Trim if they are excessive in length as you don’t want this last part to be too bulky
Finish off the ends neatly, trimming if necessary
10. Once you have secured the last stems, choose either a length of complementary ribbon or string and wrap the length around the base of the stems to entirely cover the florist tape. Tie in a simple bow or knot.

I'm a little in love with this velvet ribbon
11. Sit back, grab a cuppa and admire your handy work

So delicate
So there you have a it, an alternative festive wreath tutorial for you. The beauty of this technique is that you can reuse the base again and again. As you probably know I am a fan of year round seasonal wreaths and this base is perfect for those.
If you are interested in a more wild and wayward, natural style wreath then I recently taught a live tutorial over on the Folksy Facebook page. If you click the link here you can view the tutorial for yourself.
Next week I will be also sharing a simple styling post on how to bring nature in to your home and to your table at Christmas time. Do come back to take a look.
And if you manage to find the time to make a wreath after this tutorial or my facebook video then please do share with me, using the hashtag #botanicaltales over on Instagram.
xxx
